Learning Outcomes
On completion of this page you will be know how to
- Design web pages where users can set their own text size
- Format text so that it is optimised for people with cognitive impairments.

On completion of this page you will be know how to
So far we have paid very little attention to how text appeared on our web pages. This was because we were concentrating on presenting text in such a way as to make it easier for screen readers to find it within our pages.
Here we will look at how to present text to those who can perceive it without assistive technology. This includes people with low vision as well as those with no visual impairments. It also includes those with cognitive impairments such as dyslexia and attention deficient hyperactivity disorder. And it also includes those who are colour blind.
All of the groups mentioned above have somewhat different requirements regarding the presentation of text:
We shall, with little effort be able cater for all of the above requirements. The beauty of accessible design is that while working on making a page accessible to one group, you are also making the page more accessible to the other groups. The whole process is synergetic. For guidelines we shall use two sets: the first is the WCAG's recommendation regarding text layout and the other is a similar one from the British Dyslexia Association.
WCAG's recommendations are as follows:
The British Dyslexia Association's recommendations are somewhat similar. The same association, however, goes further and also recommends appropriate font types. In this area its prime recommendation is NOT to use serif fonts. The types it does recommend are: Verdana, Tahoma, Century Gothic, Trebuchet, Calibri and Open Sans. It also recommends that we avoid italics, underlining and justifying text.
Go to top
                            <html lang="en">
                                <head>
                                    <title>Maori Myths and Legends | Creation Stories</title>
                                    <link href="Colours.css" rel="stylesheet" type="text/css">
                                    <link href="TextFormatting.css" rel="stylesheet" type="text/css">
The formatting code for text will go into another CSS file, named appropriately TextFormatting.css. This has to be added to your Maori Creation Stories.html file. Listing 1 above shows how this is done.
                            /*********************************************
                            Here we specify the standard font-size as being
                            the same as the font-size set by the browser
                            *********************************************/
                            html{
                                font-size: 100%;
                            }
Although accessible text and pretty text are not mutually exclusive, we shall be concentrating on accessible text in this page.
The first step towards accessible text is in line 14 of Listing 2. Here the standard font size for the page is specified as being 100%. But 100% of what?
In this context it means 100% of the browser's default font size. What we are doing here is leaving the font type and standard size open. This allows the user to set their own font type and size. Users do that by going into their browser's settings and change the type and size of the font in there. Whatever font size they choose will now become the standard font size for their web page.
                            *********************************************/
                            p, a{
                                font-size: 1rem;
                                line-height: 1.5rem;
                                letter-spacing: .10rem;
                                word-spacing: .16rem;
                                margin-bottom: 2rem;
                            }
                            /*********************************************
                            The suze if the headings h1 - h4 are defined
                            using rem units.
                            *********************************************/
                            h1{font-size: 2rem}
                            h2{font-size: 1.5rem}
                            h3{font-size: 1.2rem}
                            h4{font-size: 1rem;}
                            /*********************************************
All other measurements of the page's contents can now be specified in relation to this size. Looking at lines 22 - 26 and lines 32 - 35 notice that all other sizes are specified in multiples of rem. So what is a rem?
Firstly the 'em' of 'rem'. It stands for the letter 'M', which in typography is the standard measurement for letters. The 'r' stands for 'relative' as in 'relative to'. In this case it means relative to the page's standard font-size. If we assume this to be 16 pixels then:
By setting up the styling as above we give the users the ability to change the font type and size to suit their individual requirements. We shall now look at how we change those font sizes in both Google Chrome and Firefox.
Go to topThe first step in altering the font size of a web page in Chrome is to first go into the Chrome's own settings page. To do this ensure that Chrome is opened then click on the icon in the top right corner which has three dots underneath each other. It also has the tool tip text of Customize and control Google Chrome. This will cause a drop down list to appear. Find the option Settings towards the bottom of this list and click on it. Once you do this the Settings page will open as shown in Fig 1 below.
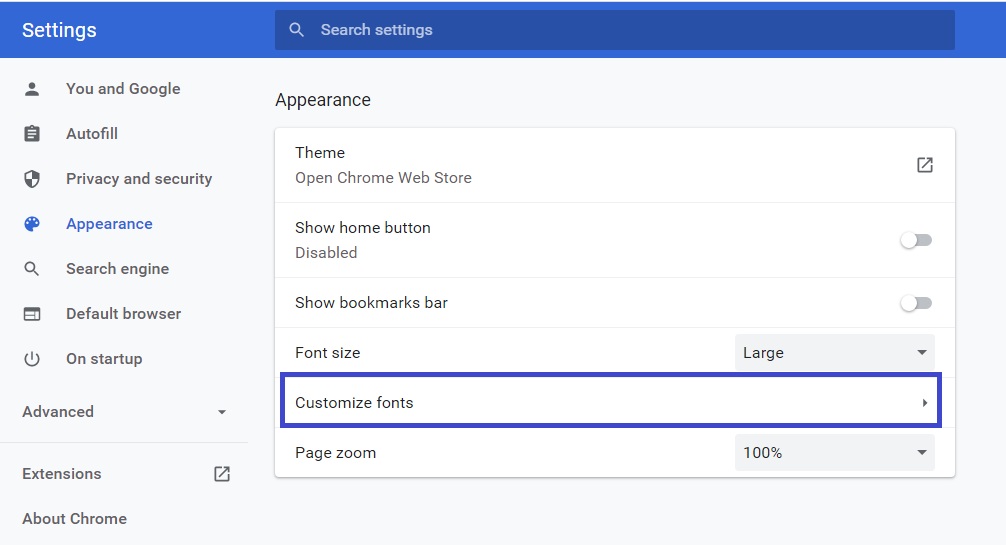
Here select the Appearance option on the left and then the Customize fonts option. This brings up the Customize Fonts page shown below.
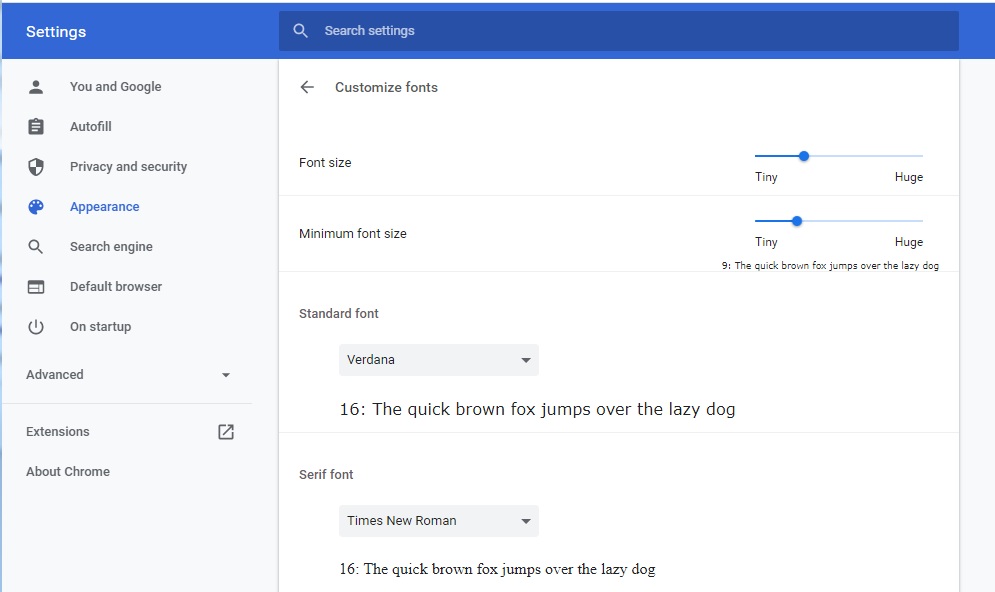
Here you drag the blue slider at the top right across until the value 16 appears. You will now have changed the font size of the page to 16 pixels.
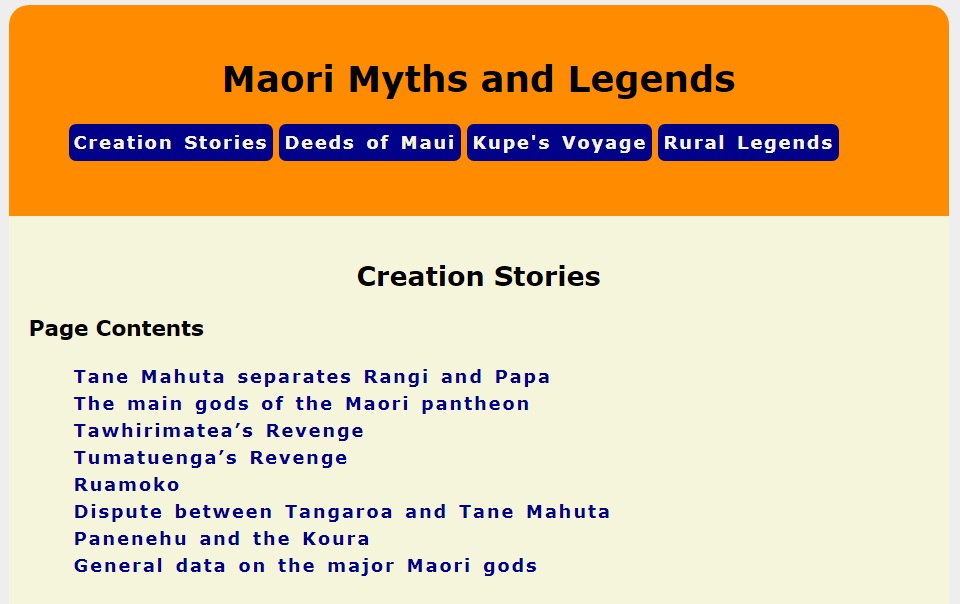
The page is now shown with a font size of 16 pixels.
Of course for some people this font size may be too small to see comfortably. In this case they would need to change it to a larger font size.
Again, they would go to the Settings page as shown in Fig 4. Here they would use the slider again to alter the font size to 24.
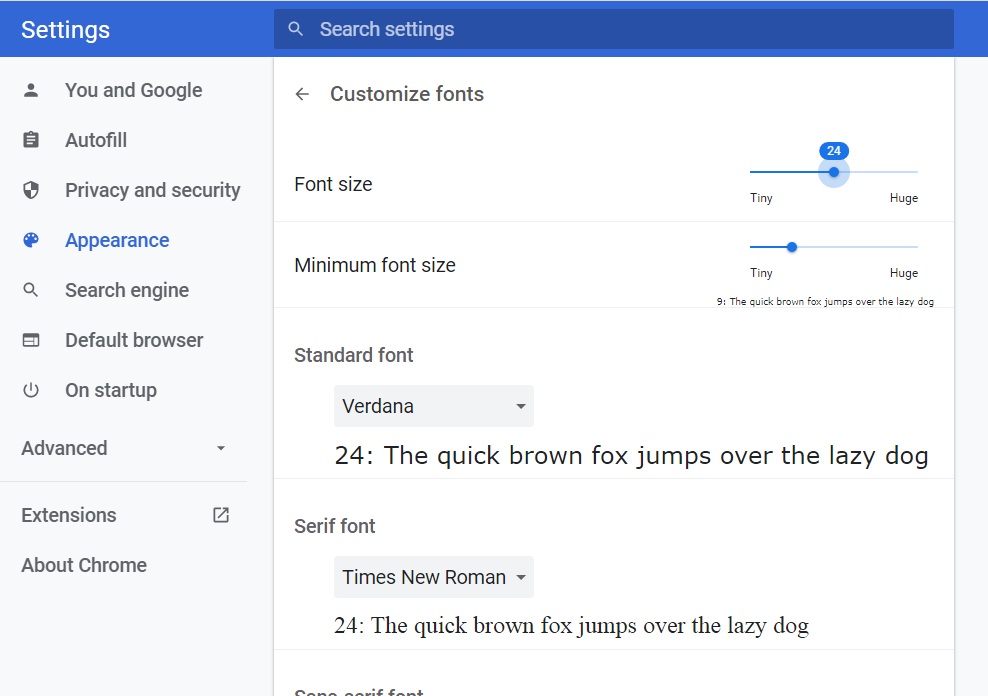

This is the same page with the font size now increased to 24 pixels.
Go to topSetting the font size in Firefox is very similar to that in Chrome. You click on the icon at the top left of the Firefox window. (This icon has three short lines instead of Chrome's three dots.) From the drop down menu select Settings, and when the page loads scroll down to Language and Appearance. You should now have a display similar to Fig 6 below.
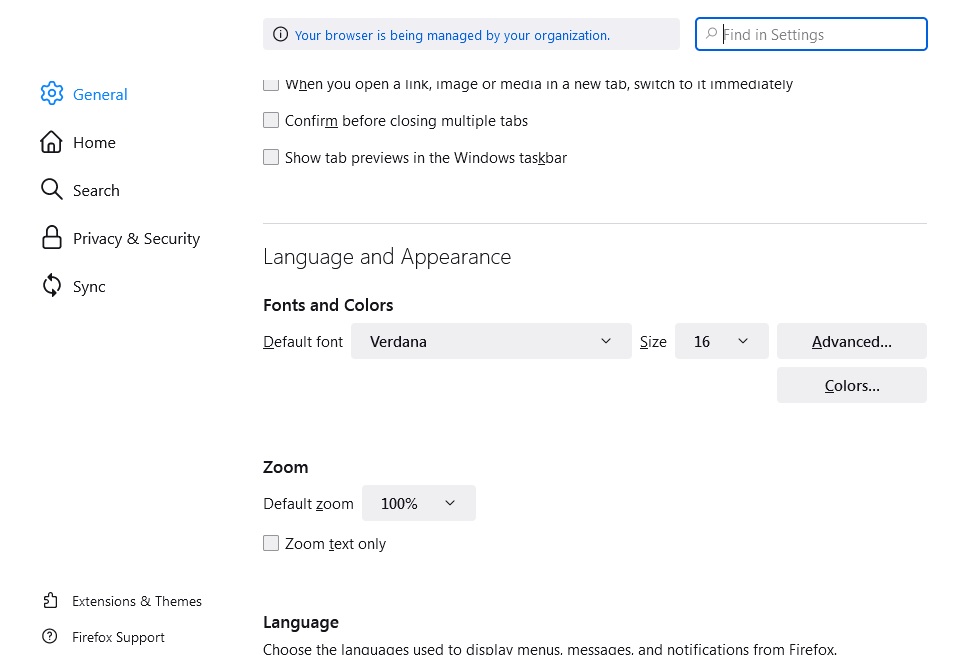
Here you select from the drop down lists both the font style and size you want and your page should load, formatted according to your specifications.
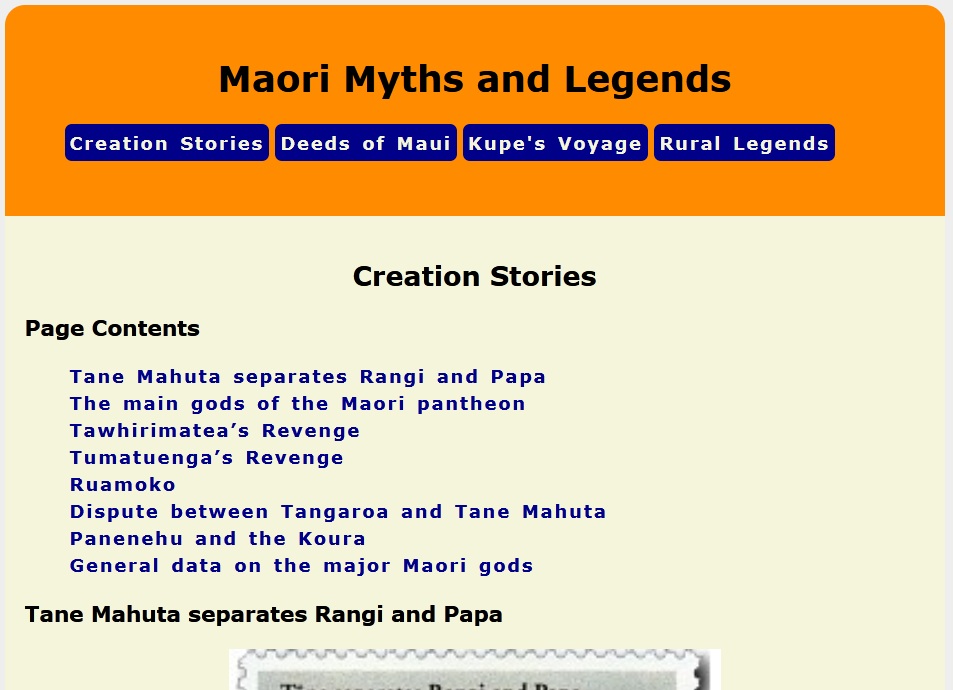
Fig 7 above shows the page formatted with size 16 font while fig 8 below shows it formatted to size 12.

Above we discussed setting text spacing according to WCAMG's specifications. The following links give you more information on setting features of text:
Go to topBy using a font-size value of 100%, we handed over to the user complete control of the size and type of the font to appear on their web-page. We have, however built controls into our CSS file to ensure that text is laid out in such a way as to make the text accessible to a user with cognitive impairment.
Go to top